
Want to add a sticky sidebar in GeneratePress without spending hours editing your WordPress theme? Good news: you can make your sidebar stay visible while visitors scroll down your page with a small amount of CSS.
In this guide, I’ll show you how to add a sticky sidebar in GeneratePress in about 2 minutes, explain how the code works, and show you how to make it work properly on desktop while keeping mobile users unaffected.
Quick answer: You can make a GeneratePress sidebar sticky by applying position: sticky with a suitable top value to the sidebar widget area.
Let’s make it simple.
A sticky sidebar is a sidebar that stays visible on the screen while the visitor scrolls through the main content.
A. Without a sticky sidebar:
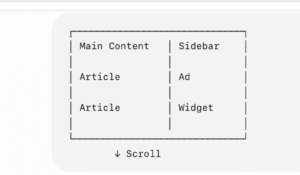
The sidebar eventually moves out of view.
With a sticky sidebar:
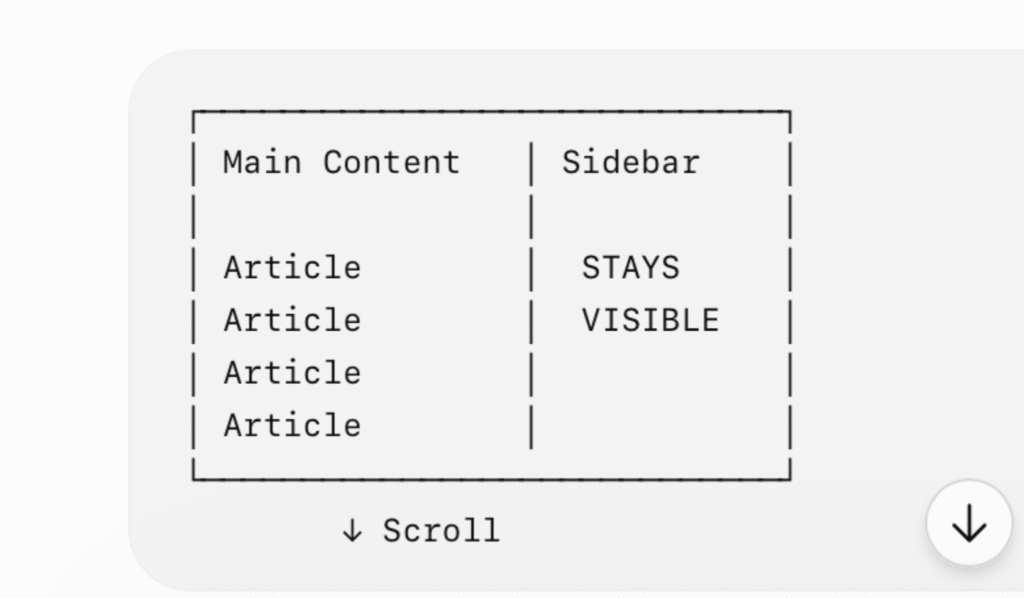
The main content continues moving, while the sidebar remains visible until it reaches the bottom of its container.
Why Use a Sticky Sidebar?
A sticky sidebar can be useful when you want important content to remain accessible while someone reads a long article.
For example, you could place:
- Related posts
- Categories
- Newsletter signup
- Search box Navigation
- Useful tools
- Advertisements
- Social links
- Promotional boxes in the sidebar.
Instead of making the visitor scroll all the way back to the top, a sticky sidebar keeps those elements within view.
GeneratePress gives you a lightweight WordPress theme structure, but a sticky sidebar isn’t something you necessarily need a large plugin for.
You can achieve the effect with CSS position: sticky.
That’s one of the reasons I prefer this approach.
You don’t need:
- A heavy sticky-sidebar plugin
- Extra JavaScript for a basic implementation
- A complicated theme modification
- A large amount of code
For a simple sticky sidebar, CSS can do the
Add Sticky Sidebar in GeneratePress
Let’s get straight to the useful part. If you are using the standard GeneratePress sidebar structure, you can start with:
Step 1: Copy the CSS Code
Use the following CSS snippet designed specifically for the standard GeneratePress layout structure:
Use the following CSS snippet designed specifically for the standard GeneratePress layout structure:
@media (min-width: 769px) {
    .site-content .widget-area {
        position: sticky;
        top: 20px;
        align-self: flex-start;
    }
}
Step 2: Paste It into WordPress
- Log in to your WordPress Dashboard.
- Navigate to Appearance > Customize.
- Click on Additional CSS from the customizer menu.
- Paste the code into the text editor box.
Click Publish to save your changes. Open any blog post or page that features a sidebar on a desktop browser, scroll down, and you will see your sidebar staying fixed in place!
Open any blog post or page that features a sidebar on a desktop browser, scroll down, and you will see your sidebar staying fixed in place!
Understanding How the Code Works
It is always best to understand what your code does before applying it to a live production website.
- @media (min-width: 769px): This media query ensures that the sticky behavior only activates on desktop and tablet screens (769px width and above). It prevents layout breaking on mobile devices where sidebars usually stack below the main content.
- position: sticky: This is the core property that tells the browser to treat the element as relative until it hits a specific scroll threshold, after which it sticks.
- top: 20px: This dictates how much space should be left between the top of the browser screen and the top of the sidebar when it sticks.
- align-self: flex-start: GeneratePress uses CSS Flexbox for its grid system. This line ensures the sidebar doesn’t unnaturally stretch to match the height of the main content container.
🔒 Premium Script
If you want a premium script that generate , left/right multi-sidebars, smart mobile toggling, and automatic header height offsets without manual code tweaking, you can get the advanced script bundle. [ Pay ₹49 via Razorpay & Unlock Complete Script ] (The production-ready, fully tested code package will unlock instantly right after successful payment.)
Troubleshooting Common Sticky Sidebar Issues
Sometimes, CSS sticky positioning doesn’t work on the first try due to theme customizations or structural CSS conflicts. Here is how to fix the most common problems:
1. The Sidebar Overlaps Your Sticky Header
If your website features a sticky navigation menu at the top, the sticky sidebar might slide underneath it. To fix this, increase the top value in your CSS to match your header’s height:
CSS
top: 80px; /* Adjust based on your header height */
2. The Sidebar Refuses to Stick at All
Sticky positioning requires proper parent container settings. If a parent element has overflow: hidden, overflow: scroll, or overflow: auto applied to it, position: sticky will fail.
Inspect your container elements using your browser’s developer tools and remove conflicting overflow properties.
3. The Selector Doesn’t Match Your Layout
If you are using a custom block-based layout or a unique GeneratePress layout builder configuration, .site-content .widget-area might not target your specific sidebar container. Right-click your sidebar, click Inspect, find your exact container class (e.g., .sidebar or custom IDs), and replace it in the CSS code.
Final Thoughts
Adding a sticky sidebar in GeneratePress doesn’t require complex plugins or expensive page builders. With a simple CSS snippet, you can achieve a professional, lightweight, and high-performing sticky sidebar in less than two minutes. Test it out on your staging or live site today, and watch your visitor engagement and link click-through rates grow!