
Image optimization is often treated as a simple matter of choosing a smaller file format. In reality, image dimensions, compression quality, file format, and the type of image can all have a major effect on the final file size.
To see how much difference these factors can make, we tested five real-world images with different dimensions, formats, and visual characteristics. The goal was simple: find out how much file size can actually be reduced while keeping images practical for the web.
Why Image Dimensions Matter
An image can look perfectly fine on a website while containing far more pixels than the visitor’s screen actually needs. A 1536 × 2048 photograph, for example, contains substantially more pixels than a 900 × 1200 version of the same image.
Reducing unnecessary dimensions can therefore produce a significant reduction in file size before compression is even considered.
This is especially important for websites because large images can increase page weight, consume more bandwidth, and take longer to transfer over slower connections.
How We Conducted the Test
We selected five real images representing different types of content: photographs, graphics, screenshots, transparent PNGs, and wide banner-style artwork.
Test Method
- Five real images were used.
- Original dimensions and file sizes were recorded.
- Images larger than 1200 pixels on their longest edge were resized to a maximum of 1200 pixels.
- JPEG versions were tested at 90%, 80%, and 70% quality.
- WebP versions were tested at 80% quality.
- PNG output was also tested using optimization.
- File-size reduction was calculated against the original file.
This is not a laboratory benchmark for every possible image. Image compression results vary depending on the source image, dimensions, transparency, detail, and encoding settings. The purpose of the test is to demonstrate what can happen with realistic images.
Our Five Test Images
The test set contained images ranging from a relatively small 1200 × 800 JPEG to a 1536 × 1024 PNG and a 1536 × 2048 photograph.
| Test Image | Original Dimensions | Original Size | Resized Dimensions |
|---|---|---|---|
| Image 1 | 1200 × 800 | 129.2 KB | 1200 × 800 |
| Image 2 | 1200 × 675 | 264.5 KB | 1200 × 675 |
| Image 3 | 1536 × 1024 | 2.22 MB | 1200 × 800 |
| Image 4 | 2048 × 682 | 858.1 KB | 1200 × 400 |
| Image 5 | 1536 × 2048 | 1.50 MB | 900 × 1200 |
What Happened After Resizing?
The biggest improvements appeared in the images that started with large dimensions. The 1536 × 1024 image originally weighed approximately 2.22 MB. After reducing it to 1200 × 800 and encoding it as JPEG at 80% quality, the resulting file was only about 117.9 KB.
That represents a reduction of approximately 94.7% compared with the original file.
The 2048 × 682 banner image showed a similar pattern. Resizing it to 1200 × 400 and saving it as JPEG at 80% quality reduced its size from approximately 858.1 KB to 62.6 KB—a reduction of about 92.7%.
JPEG Compression Results
We tested three JPEG quality levels: 90%, 80%, and 70%. Lower quality settings generally produced smaller files, although the best setting depends on the image and the acceptable visual quality.
| Image | JPEG 90 | JPEG 80 | JPEG 70 |
|---|---|---|---|
| Image 1 | 152.4 KB | 118.6 KB | 93.9 KB |
| Image 2 | 132.1 KB | 90.8 KB | 74.9 KB |
| Image 3 | 175.5 KB | 117.9 KB | 95.5 KB |
| Image 4 | 90.5 KB | 62.6 KB | 50.8 KB |
| Image 5 | 577.1 KB | 411.6 KB | 332.1 KB |
Across the five images, the combined JPEG 80% output was approximately 801.5 KB, compared with approximately 3.44 MB across the original files.
That is an overall reduction of approximately 84.0%.
What About WebP?
WebP produced some of the smallest files in our test while retaining the dimensions of the resized images.
| Image | Original Size | WebP 80 | Reduction |
|---|---|---|---|
| Image 1 | 129.2 KB | 66.7 KB | 48.4% |
| Image 2 | 264.5 KB | 45.8 KB | 82.7% |
| Image 3 | 2.22 MB | 72.0 KB | 96.7% |
| Image 4 | 858.1 KB | 37.7 KB | 95.6% |
| Image 5 | 1.50 MB | 387.0 KB | 74.8% |
The five original files totaled approximately 3.44 MB. The corresponding WebP 80% files totaled approximately 609.3 KB. That means the combined dataset became approximately 87.8% smaller.
One Important Finding: Not Every Image Benefits Equally
One of the most useful findings from this experiment is that there is no single compression setting that produces the same result for every image.
The first image was already a relatively small 1200 × 800 JPEG at about 129.2 KB. Because it had already been compressed, simply converting it to another JPEG quality setting did not necessarily make it smaller. At JPEG 90%, for example, the newly encoded file was actually larger than the original.
WebP at 80% produced a much smaller 66.7 KB file, however.
This demonstrates why optimization should be based on the actual image rather than a fixed rule such as “always use JPEG quality 70.”
PNG Can Behave Differently
PNG is particularly useful when an image needs transparency, sharp graphics, or other characteristics that make a lossless format appropriate. However, PNG is not automatically the smallest option.
In our test, some PNG files became substantially smaller after resizing and optimization, while others remained relatively large compared with WebP or JPEG.
Interestingly, the already-small JPEG image became approximately 723.2 KB when encoded as PNG. That is more than five times its original size.
Does Resizing Affect Image Quality?
Resizing reduces the number of pixels in an image. When the original image is much larger than its displayed size, reducing those dimensions can often remove unnecessary data without producing a noticeable difference at normal viewing sizes.
The key is to avoid resizing an image to dimensions that are unnecessarily small for its intended display.
For example, an image displayed at roughly 1000 pixels wide generally does not need to be stored as a 4000-pixel-wide original simply because the larger file exists.
What Image Dimensions Should You Use?
There is no universal width that works for every website. The correct dimension depends on where the image will be displayed.
- Blog content: prepare images close to the maximum content width.
- Hero images: use dimensions appropriate for the largest expected display.
- Thumbnails: create dedicated smaller versions rather than serving the original.
- Social media: follow the platform’s recommended dimensions.
- Product images: balance zoom/detail requirements against file size.
The important principle is simple: do not serve a much larger image than the visitor needs.
A Practical Image Optimization Workflow
A simple workflow can make image optimization much more consistent:
- Start with the original image.
- Determine the maximum display dimensions needed.
- Resize the image to an appropriate pixel size.
- Choose a suitable format such as JPEG, PNG, or WebP.
- Apply reasonable compression.
- Compare visual quality and file size.
- Use the optimized version on your website.
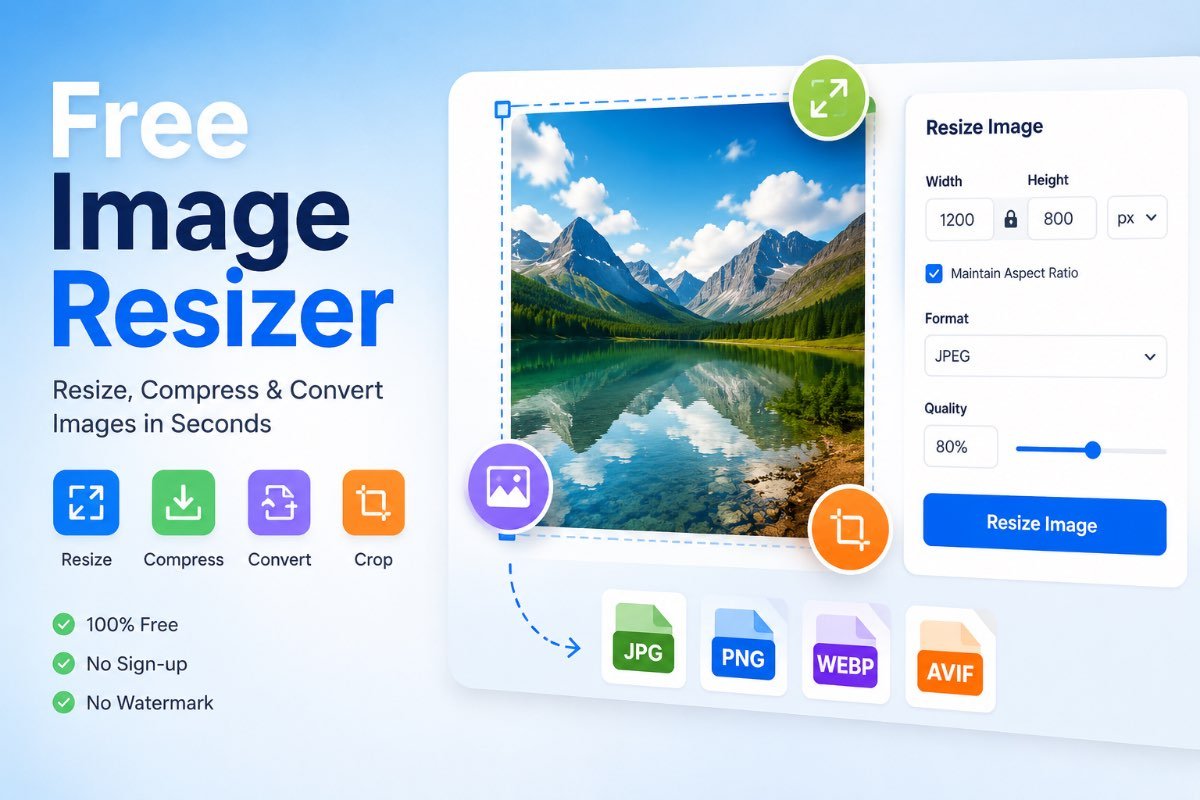
You can perform these steps directly in your browser with Free Image Resizer. It provides resizing, compression, cropping, and image conversion in one place.
Common Image Optimization Mistakes
- Uploading the original camera image directly to a website.
- Using a 3000–5000 pixel image when a much smaller version is sufficient.
- Using PNG for photographic images without a specific reason.
- Compressing an already optimized image repeatedly.
- Choosing extremely low quality just to achieve a tiny file size.
- Ignoring mobile visitors and responsive image requirements.
- Judging optimization only by file size instead of checking visual quality.
What Our Five-Image Test Tells Us
The experiment demonstrates three important principles.
The largest images in our test saw reductions of more than 90% after resizing and efficient encoding.
At 80% quality, the five WebP files totaled approximately 609.3 KB versus roughly 3.44 MB for the original files.
Different images respond differently depending on their original format, dimensions, detail, transparency, and previous compression.
Final Takeaway
Image optimization is not about making every image as small as possible. It is about finding the best balance between dimensions, file size, format, and visual quality.
Our five-image benchmark shows just how large the difference can be. The combined original dataset was approximately 3.44 MB, while the corresponding WebP 80% versions totaled about 609.3 KB—an overall reduction of approximately 87.8%.
The most effective workflow is therefore straightforward: resize unnecessary pixels first, choose an appropriate format, compress carefully, and then verify the final result.
For a quick browser-based workflow, try Free Image Resizer to resize, compress, crop, and convert your images before using them online.
If you need to resize a signature or photo to a specific file-size range, you can use our Signature Resizer 10 to 20 KB.